 Newspatrolling.com News cum Content Syndication Portal Online
There are both keyboard shortcuts and app that can be used to take screenshot in Mac
In the world of computers, it is expected that everyone would know basic things like taking a screenshot. However, the reality is that many people still do not know how to take a screenshot. This may feel a bit surprising, but it is a fact. If you are a Mac user and facing similar challenges, let’s take a look at how to take screenshot in Mac.
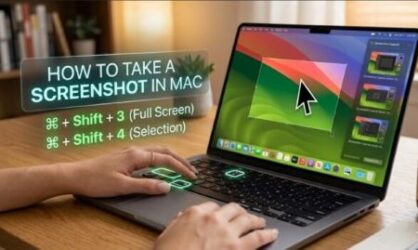
Keyboard shortcuts for taking screenshot in Mac
If you want quick results and can easily remember a few combinations, then keyboard shortcuts can be the best way to take screenshots in Mac. With these shortcuts, you can not only take screenshots in Mac, but also choose the type of screenshot you want. This is useful since the type of screenshot you need is likely to vary based on your specific requirement.
| Type of screenshot on Mac | Keyboard Shortcut | Description |
| Entire screen | Shift + Command (⌘) + 3 | Captures everything on all screens. Saves as a file on Desktop. |
| Selected portion | Shift + Command (⌘) + 4 | Crosshair cursor appears. Drag to select area. |
| Specific window or menu | Shift + Command (⌘) + 4, then Space | Cursor becomes a camera icon. Click the window/menu. |
| Screenshot toolbar (most options) | Shift + Command (⌘) + 5 | Opens a panel for screenshots, recordings, options, timer, etc. |
| Touch Bar (older MacBook Pros) | Shift + Command (⌘) + 6 | Captures the Touch Bar display. |
With the above keyboard shortcuts, you can easily take the screenshot of your choice on a Mac. There are some additional tips, especially when using Shift + Command + 4. For example, if you want to cancel, just press the Esc button. If you want to move the selection without resizing, then hold the Space bar while dragging.
If you want to resize from center, you can use the Option while dragging. If you want to adjust one side, you need to press and hold Shift while dragging a handle. This also works for proportional changes in some cases. If you want to exclude the window shadow, you need to hold Option when clicking the window.
Screenshot app in Mac
You can use the inbuilt screenshot app to take a screenshot in Mac. This can be quickly accessed by using the keyboard shortcut – Shift + Command + 5. Once you press these, a toolbar will open at the bottom of the screen. You can then choose from the options such as capture entire screen, capture selected portion, capture a specific window or record the screen.
For further customization, you can choose the location where the screenshot will be saved. You can also use the timer function for taking a screenshot after a specific period like 5 or 10 seconds. There are options to show mouse pointer and show or hide the floating thumbnail. You can also choose the file format in which you want to save the screenshots.
By default, the screenshots will be saved on the desktop in a Mac. However, you can change this based on your preference. There is also option to ‘Copy to Clipboard’ instead of saving the screenshot as a file. You can also set the behavior of the floating thumbnail. For more advanced options for taking a screenshot in Mac, you can choose third-party apps such as Shottr, CleanShot X, or Snagit.